Getting started
This page takes you from a new account to players at your table: make an account, start a campaign, give it a cover, add characters and bring your players in. The account steps happen once. Everything after that is per campaign.
1. Make an account
Open Create a free account. Enter your email, pick a username, choose a password and type it again, and add the month and year you were born for the age check. RollCall Tavern then sends a link to your email. Open it to confirm the address, then log in. If the email does not arrive, the Check your inbox page lets you ask for a new link.
2. Start a campaign
After you log in you land on Home, the list of every campaign you run and every one you play in. Press New campaign (or the Start a new campaign card). Give it a name, a one-line description and, if you like, an overview of your world. Not ready to write anything yet? The try the sample campaign link under that card opens a ready-made one to explore.
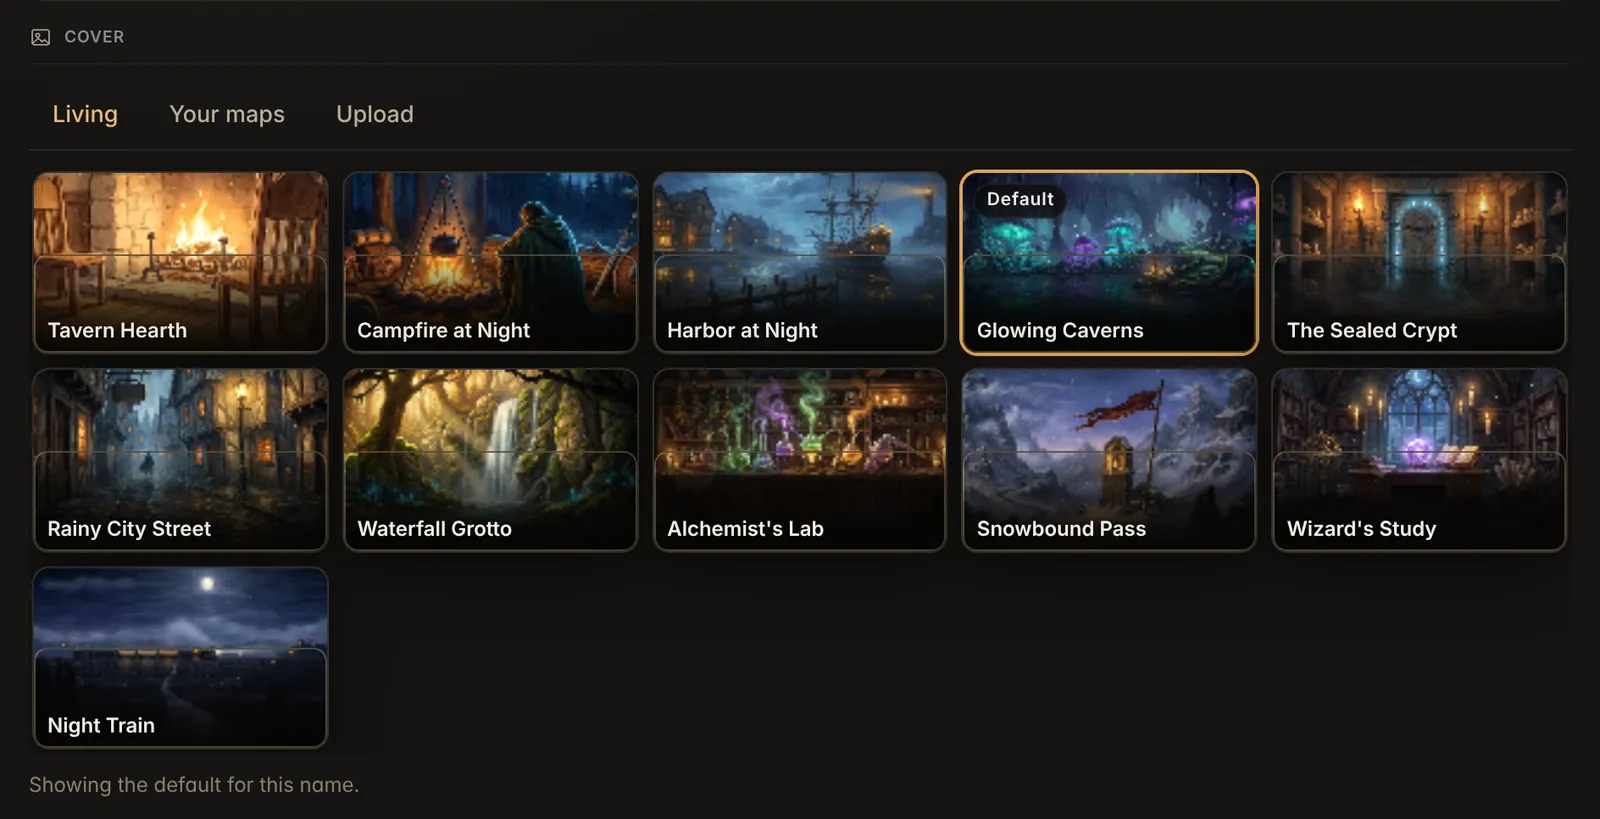
At the bottom of the form, pick a cover. It is the painting on the campaign’s card on Home and behind its front page. Choose one of the Living covers (a tavern hearth, a harbor at night, a sealed crypt and more), one of Your maps, or Upload your own picture. A wide picture works best. You can change the cover later from the campaign’s front page.
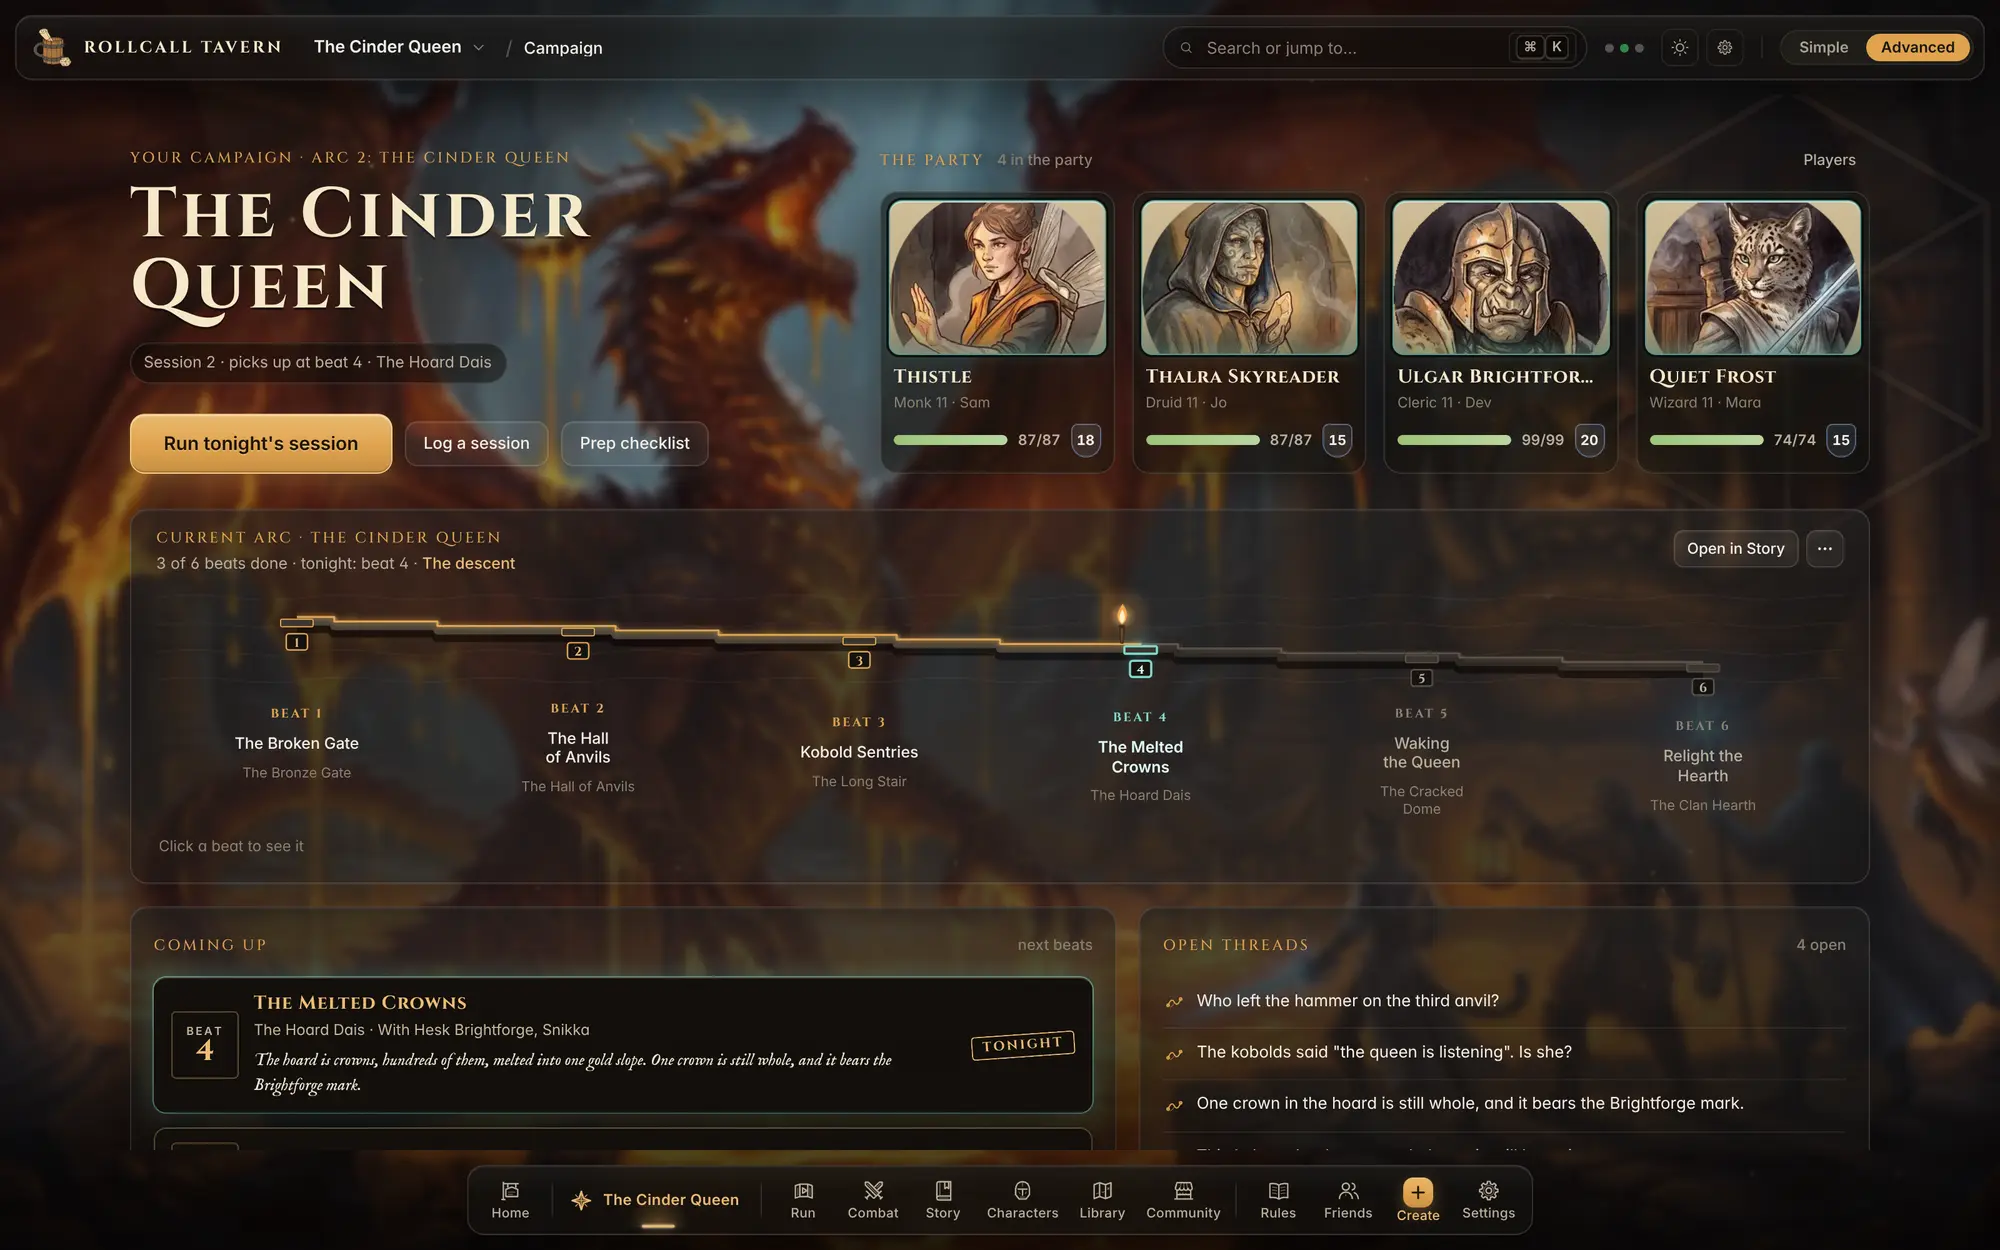
Press Create. Your new campaign joins the list on Home. Press Open campaign on its card and you land on its front page: the party, the story so far and a big Run tonight’s session button.
3. Add characters
Open Characters in the dock and press + Character beside the party, or use Create in the dock and pick New character. The character builder walks through short steps in any order: Concept, Species, Class, Background, Abilities, Equipment, Spells (for spellcasters), Portrait and Review. Nothing is saved until you press Create character. Already have a sheet? Import a sheet on the first step reads a PDF or a photo of a paper one. It uses the optional AI helper, so you check every field before it saves.
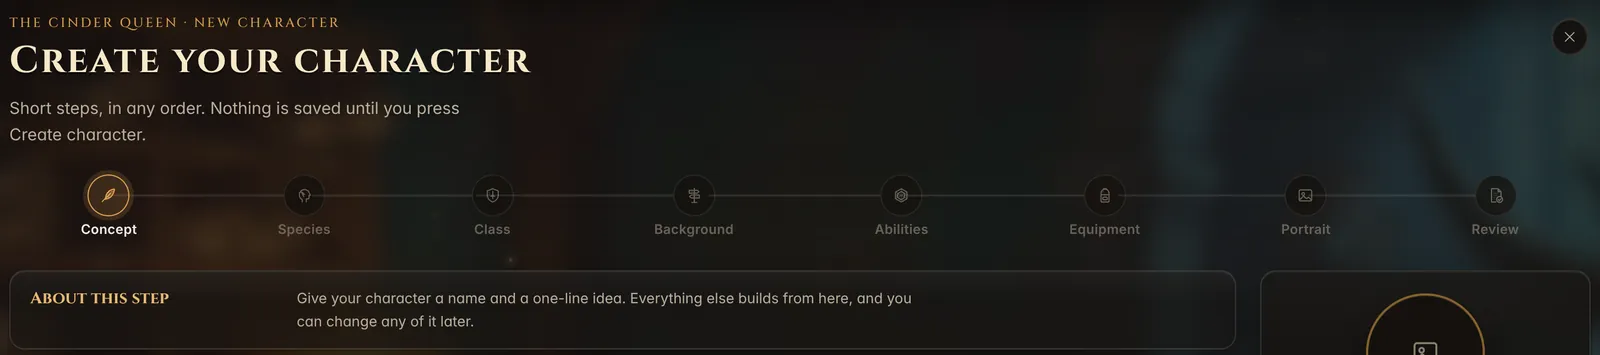
Make one character per player, or let your players build their own when they join (see below). Every sheet stays editable afterwards: hit points, conditions, rests, spells, gear and level ups all live on the sheet.
4. Bring your players in
Players need a free account too. When a player opens your link, they are asked to make one or log in, and then they land right back on the link.
Send an invite link
In Characters, press Invite players, beside + Character above the party. (In the classic look it is Invite player, in the menu next to Add character.) It is also in each hero’s … menu, and on the Cast the party card when you have no characters yet. A drawer opens. Press Create invite link, then Copy. The link starts with /join/. Send it to your player however you like: a message, an email, your group chat.
The player makes a free account or logs in, builds their own character, and lands in the player view on their phone or laptop. No install. If you turn on Require my approval before you create the link, you approve each new character before it joins the party. Every link you make is listed in the same drawer with Copy link and Revoke, so you can take one back if it went to the wrong place.
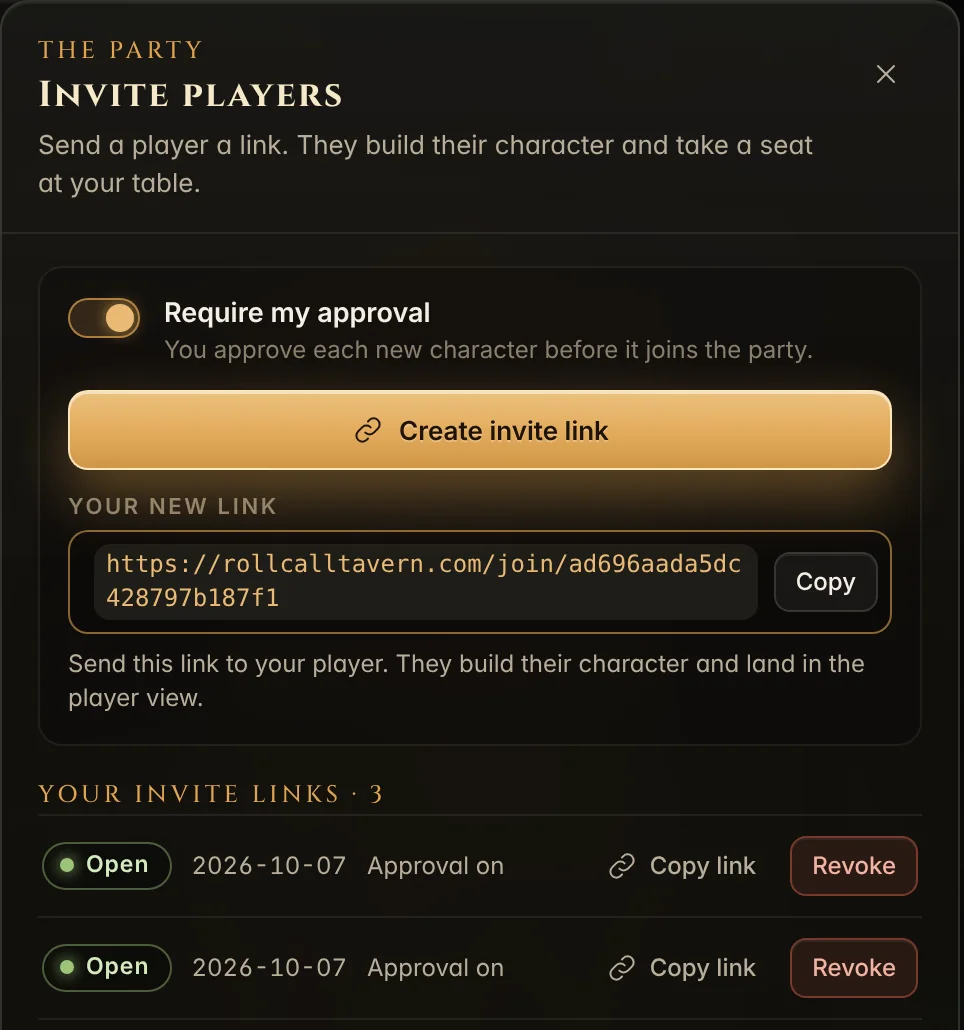
Or hand a player a hero you built
If you already made the character, open the … menu on that hero in Characters and choose Copy player link (the same button sits on the character’s sheet). Send the link to that player. They log in or make a free account, and that character’s sheet and the table open on their phone or laptop.
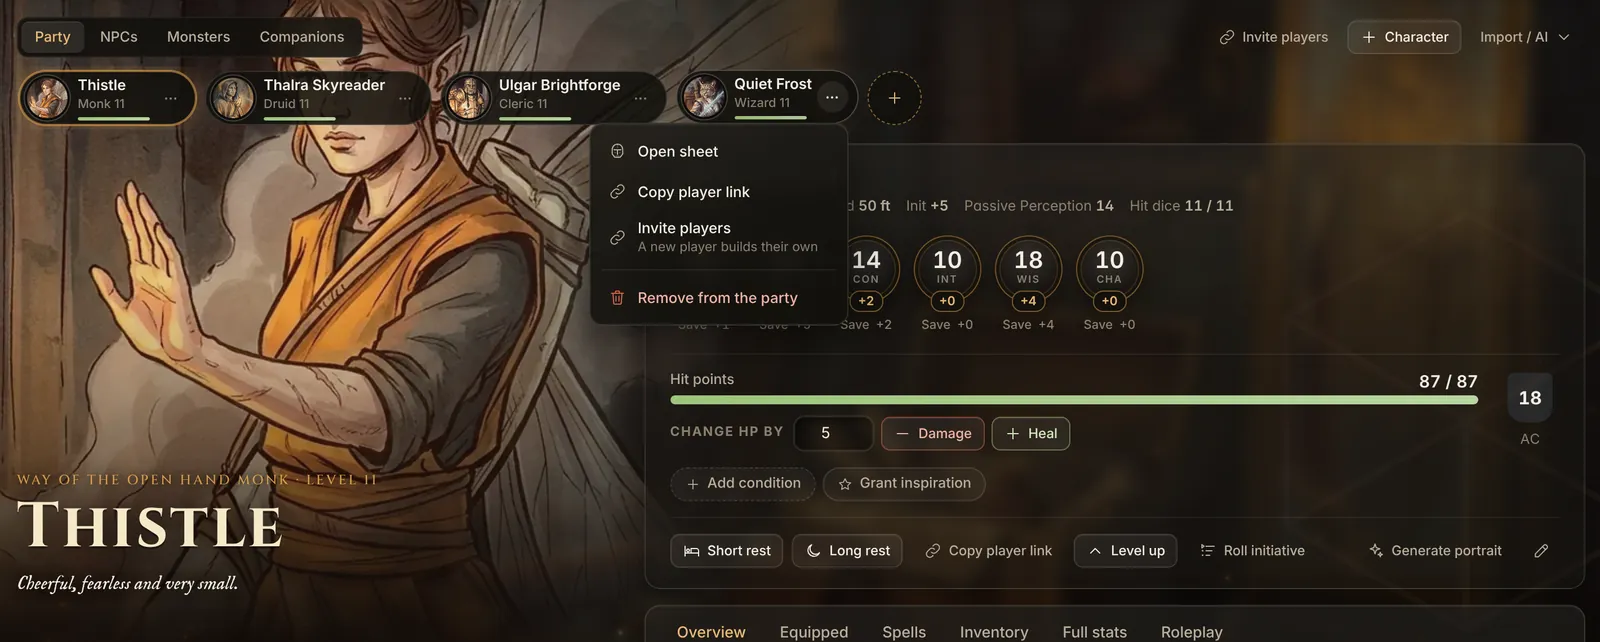
Or add them as a friend and invite them
Press Friends in the dock. On Add player, search for their username, or type the email they signed up with, and send a friend request. The request waits in their account until they accept it. Once you are friends, they appear under Invite to this campaign on the Campaign members tab. Pick a role (Player, Spectator, or Co-DM for someone who helps you run the game) and press Invite. The Invite button on a campaign card on Home opens the same place.
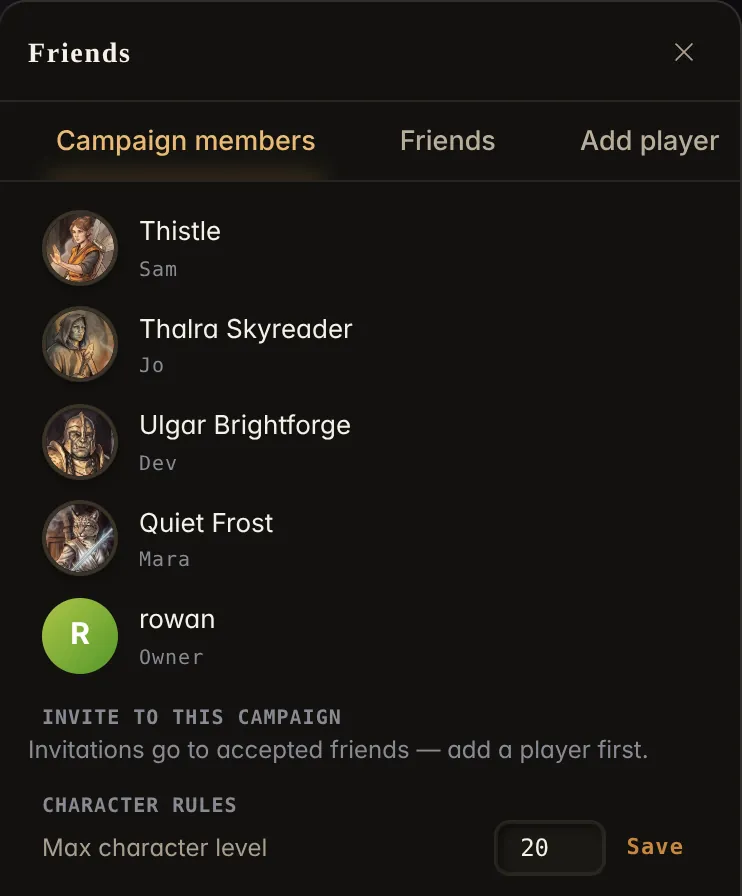
The invitation shows up at the top of the player’s Home. They press Accept and join, and the campaign moves to their Playing list. Opening it takes them to Choose your character, where they open a character that is already theirs or create a new one in the same builder you use, up to the Max character level you set on the Campaign members tab.